With over 221k start on github, openclaw has skyrocketed to write a well deserved success story. It has the idea, it addresses the pain points, it showcases the reliability and it has the vibe and community’s appreciation.
While it has proved to be an AI agent and handle multiple tasks to assist you, setting it up has been a bit of a hassle from the beginning. Well if done right, it’s quite simple actually. You have multiple ways of installation and multiple destinations where you can install it to.
Openclaw was built to handle your computer for you. So, the first place you might want to consider installing it is on your computer. Just make sure you use a spare computer or a new one! You could also install on a raspberry pi or Mac mini or your old Mac book air and the list Goes on.
In this post i like to showcase a self hosted cloud setup for open claw and No its not on Hostinger or other paid managed hosting service. Instead, i’m gonna use a simple unmanaged server service called Hetzner (Better value and pricing than Hostinger) and a free self hosted server manager called Coolify. I like coolify a lot since you dont have to worry about sshing into your servers and just use the UI to interact and manage your projects and servers. If you dont like coolify since its free, self hosted and you have an option to install any other alternatives. Having said that, lets jump right in to installing OpenClaw using Coolify.
Here is the snapshot of the steps involved so that you know its actually simple.
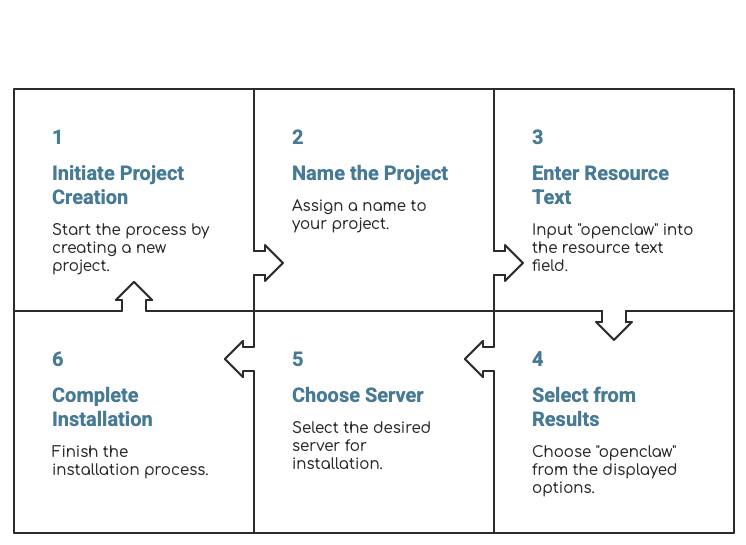
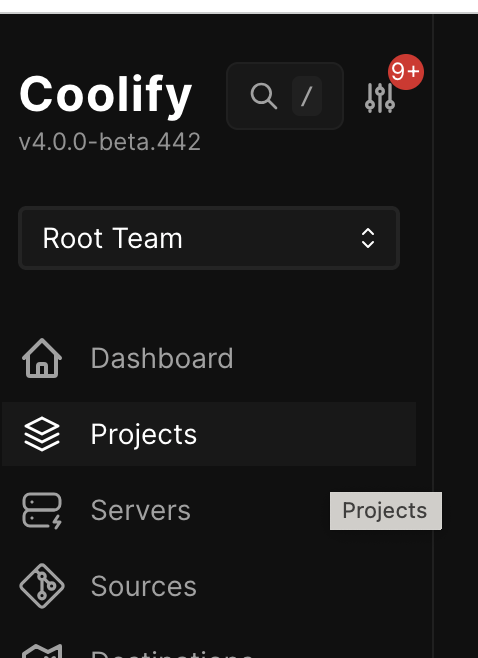
- Ensure that you are in the projects section by selecting the projects on the left menu.
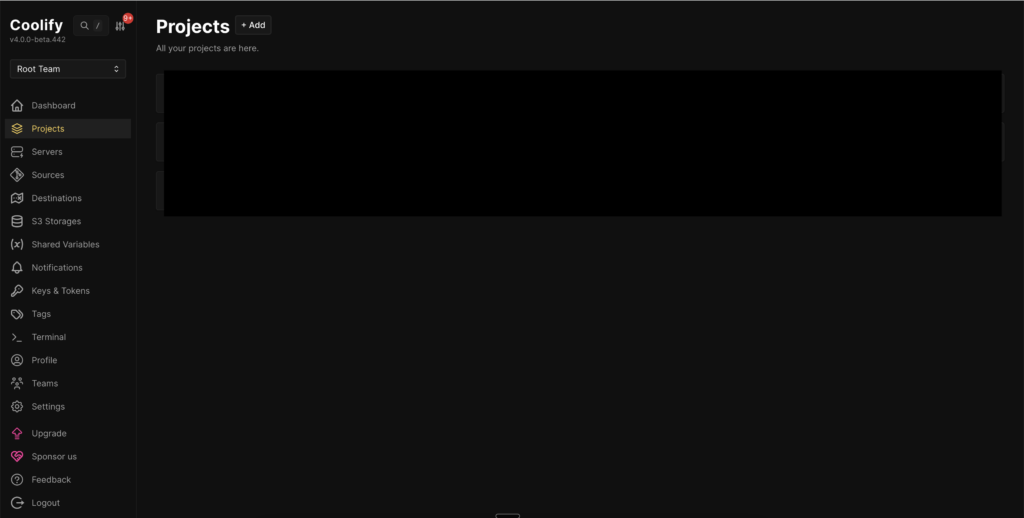
2. Click on “+Add” next to Projects
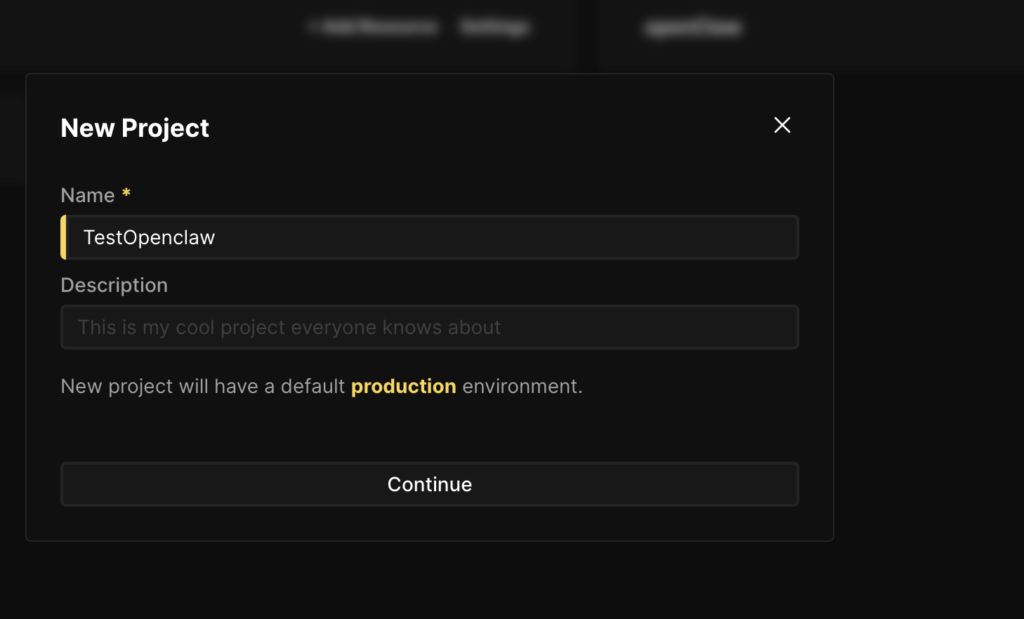
3. Type a project name
4. In the Resources text box, Type “Openclaw” and select the same from the results section.

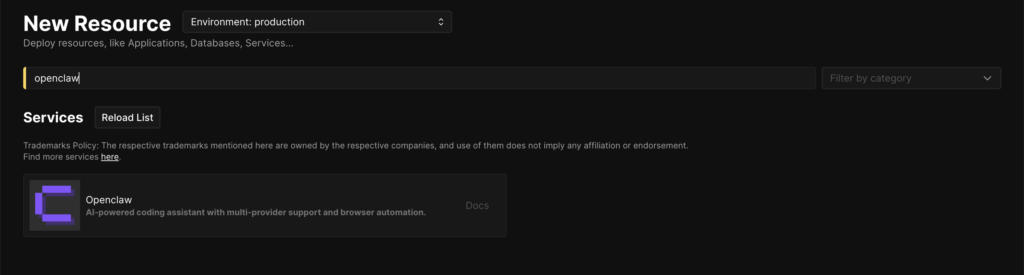
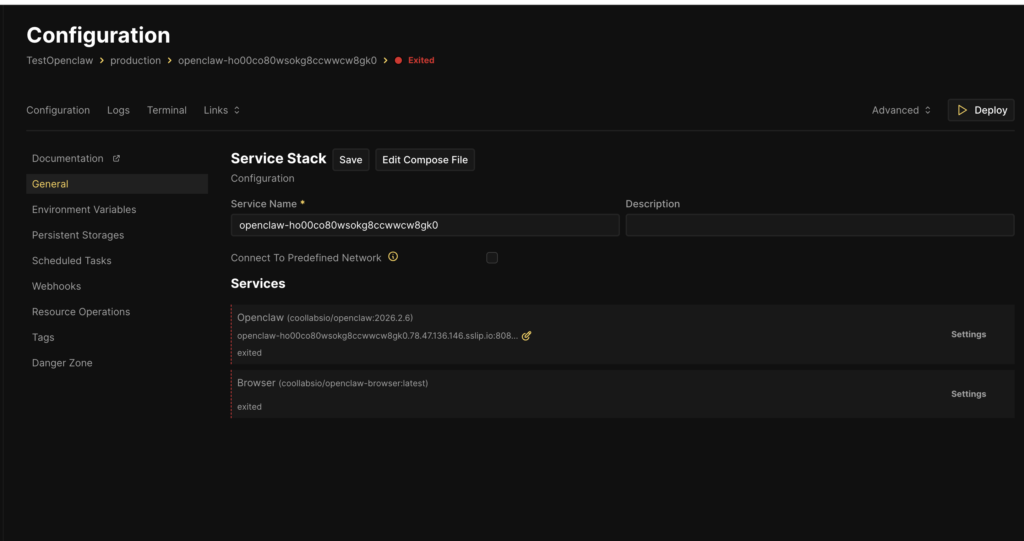
5. After selecting resource you will be prompted with a screen to select the resouce, choose your server which you want to install this one. Post that you will Land the following “Configuration” screen.
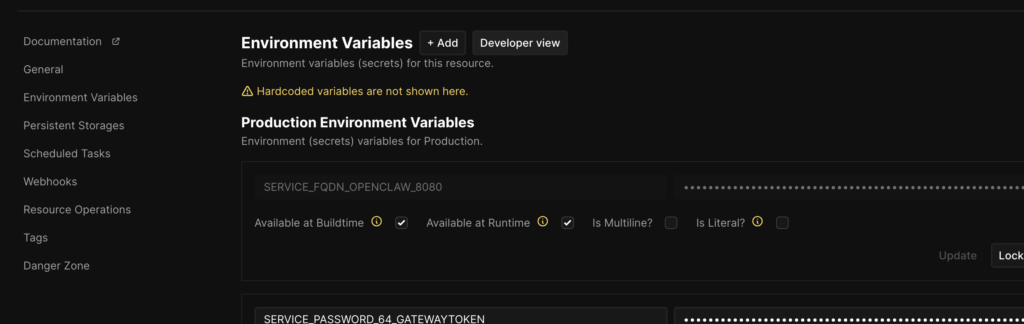
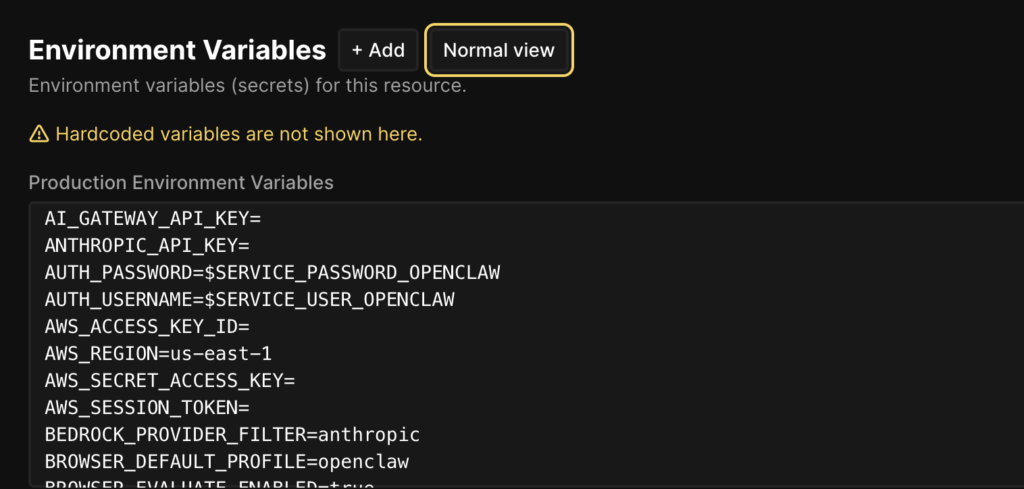
6. Go to Environment Variables and fill the following:
-> OPEN_AI_API_KEY or ANTHROPIC_API_KEY or any other models which you use. This is a key step to deploy openclaw successfully.
-> Fill in your AUTH_USERNAME and AUTH_PASSWORD
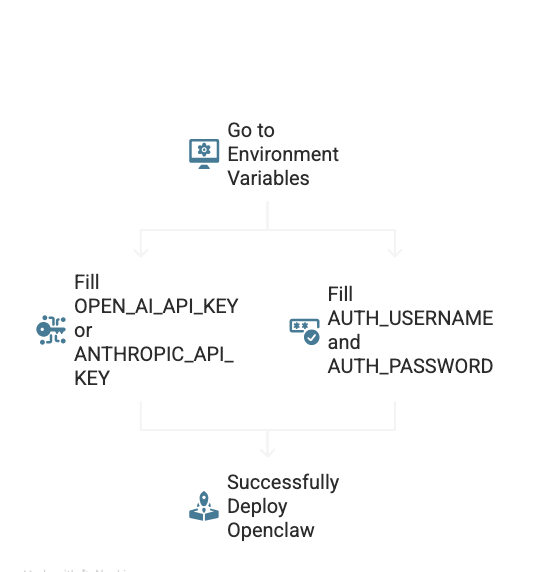
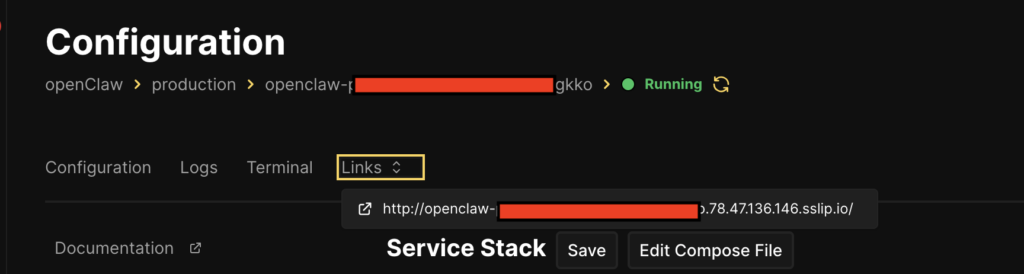
7. Once you are done with the above steps Hit “Deploy” in the configuration screen.

8. Once you deply you should see a Green “Running” text on your screen. Once you see that, Go to “Links” tab and click on the openclaw link generated. It should take you to where
9. You should now see Openclaw running. Many of you will face the following error “Disconnect from gateway” error on your first visit.
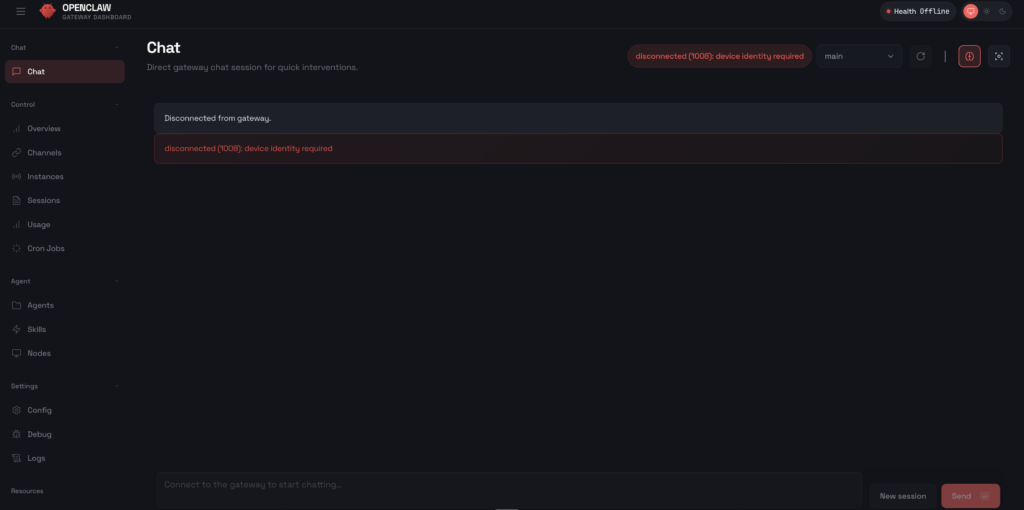
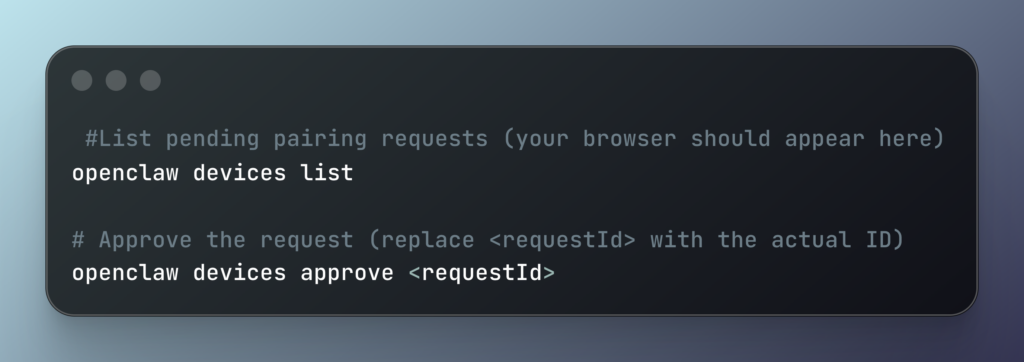
FIX: Type the following commands. What this does is it see is any device is yet to be approved for pairing and it lets you approve them by specifying the RequestId
10. Once everything is set right, then Do not forget this step. At least i struggled with this. Make sure to get your “gatewaytoken” and paste it in the “Overview” section in the OpenClaw Dashboard.
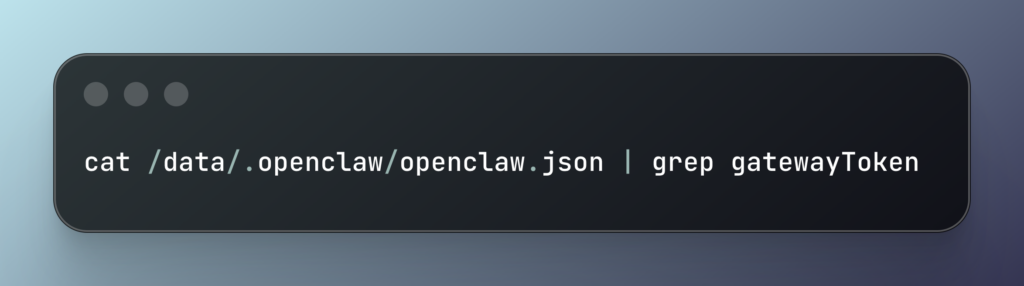
Copy the result of the above command paste it in the following Overview screen, inside “Gateway Token” textbox.
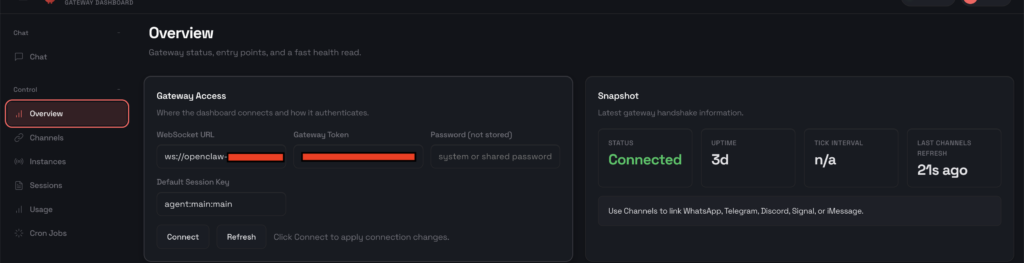
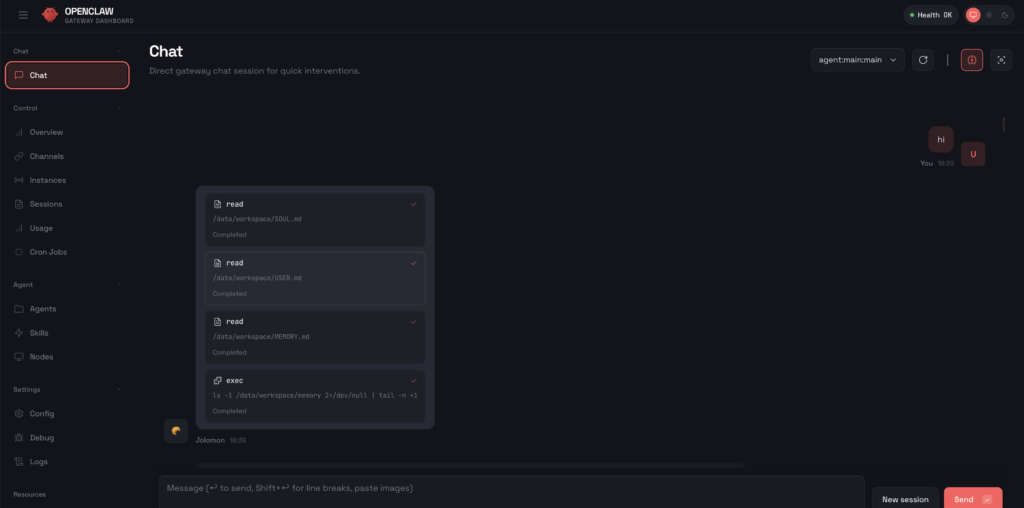
Once you do the above you should see everything turns green and you can start chatting with openclaw.
If it helps, i have added all the errors i faced, cause and solutions in a table format. See if you might want to pick a row as a reviving pill for you issue 😉
| Issue | Cause | Solution |
| “No Available Server” (404 Error) | Port mismatch in Coolify configuration. | Changed the Destination Port from 8080 to 18789 (the standard OpenClaw port). |
| Container “Restarting” Loop | Missing required AI credentials. | Added OPENAI_API_KEY to the Environment Variables tab. |
| Login Screen Appears | Default security/auth enabled. | Used the Eye Icon in Env Variables to reveal AUTH_PASSWORD. |
| “Locked” Env Variables | Security feature in Coolify UI. | 1. Removed the reference from the Docker Compose file. 2. Deleted the locked variable in the UI. 3. Re-added it manually. |
| Disconnected (1008): Device Identity Required | Remote browser connection rejected by OpenClaw security. | 1. Used the Coolify Terminal to run openclaw devices list.2. Ran openclaw devices approve <ID> to pair the browser. |
| Domain Port Issue | Port number (:8080) included in the URL field. | Removed the port suffix from the FQDN (Domain) field to let the proxy handle it. |
If this tutorial helped you in any way, then please do like and subscribe. It fuels me to write more of such articles for you 😊. See you in the next one!
Discover more from Nikhil Emmanuel's Blog
Subscribe to get the latest posts sent to your email.