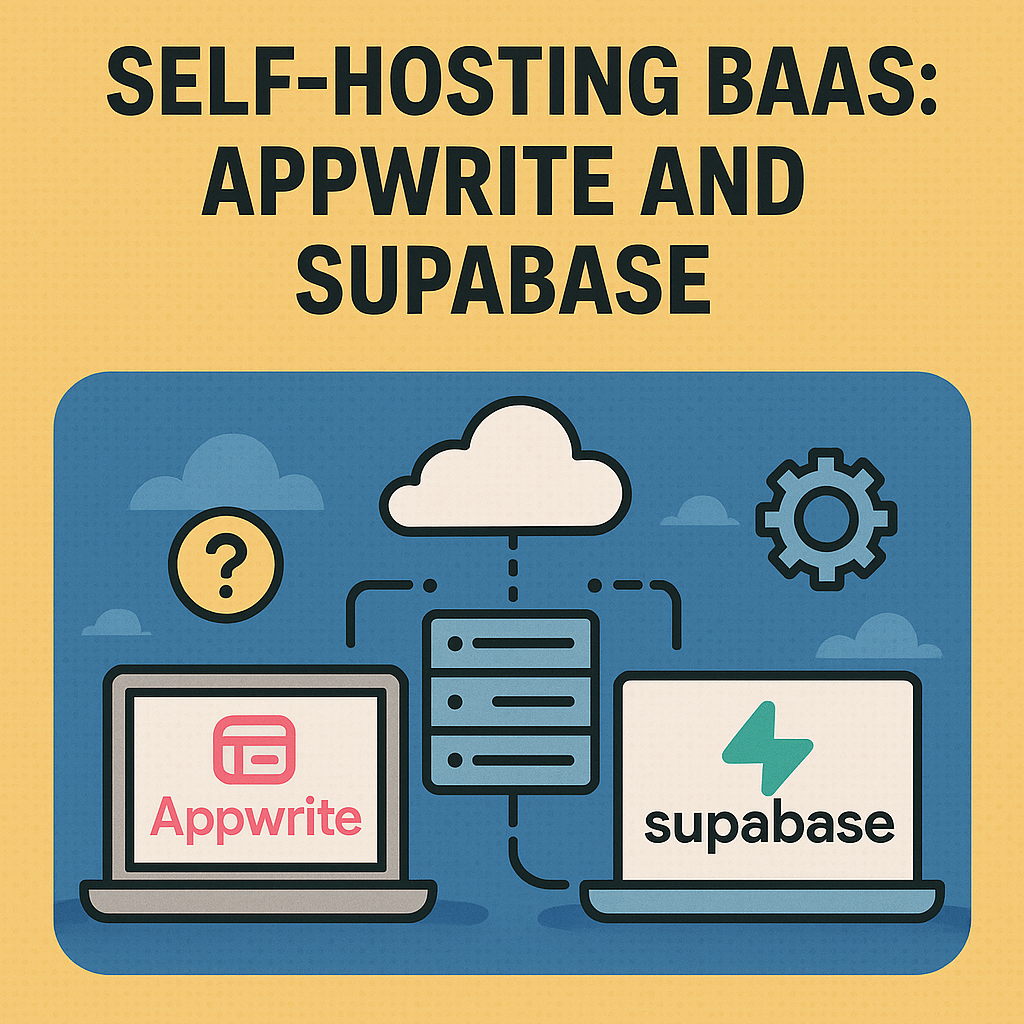
Alright, fellow devs and tech enthusiasts! If you’ve been dabbling in app development, you’ve probably heard the buzz about “Backend-as-a-Service” or BaaS platforms. They’re like magic wands that handle all the tedious backend stuff – authentication, databases, file storage, you name it – so you can focus on building awesome user experiences.
Two big players in the open-source BaaS arena are Appwrite and Supabase. But here’s the ring: unlike traditional cloud-hosted BaaS (looking at you, Firebase!), these two let you self-host. That means you get to be the boss of your data, your infrastructure, and potentially save a ton of cash in the long run.
So, what’s the deal with these tools, and how do you even get started self-hosting without pulling your hair out? Let’s dive in!
Appwrite vs. Supabase:
Think of them as two different flavors of delicious backend goodness:
- Appwrite: This is your all-rounder, API-first BaaS. It gives you a unified API for pretty much everything. It uses a NoSQL-like approach for its database (built on MariaDB under the hood) which is super flexible. If you’re building cross-platform apps with Flutter, or just want a comprehensive, opinionated backend, Appwrite is a strong contender.
- Supabase: This one’s for the SQL lovers. It’s built on top of PostgreSQL, giving you all the power of a relational database with real-time capabilities. If you live and breathe SQL, appreciate structured data, and want fine-grained control over your database schema, Supabase will feel like home. It’s often dubbed the “open-source Firebase alternative for SQL.”
Both offer fantastic features like user authentication, file storage, real-time subscriptions, and serverless functions (called “Cloud Functions” in Appwrite and “Edge Functions” in Supabase). The choice often boils down to your database preference and desired level of abstraction.
Let’s Get Real: How to Self-Host Without the Headache
Okay, the idea of “self-hosting” can sound intimidating, conjuring images of complex server setups and endless command-line scrolling. But fear not! There are actually a few increasingly easy ways to get your Appwrite or Supabase instance running.
1. YOU Get your hands dirty with at least linking github and docker and few other plugs
This is probably the easiest entry point for self-hosting. These platforms let you deploy your app (or a Dockerized Appwrite/Supabase) with just a few clicks, handling most of the server grunt work.
How it works: Think of providers like Render, Railway, or DigitalOcean App Platform. You connect your Git repository (or use their “one-click” deploys if available), configure a few environment variables, and boom! Your backend is live. They manage scaling, updates, and general server health.
Pricing Snippet:
- DigitalOcean App Platform: Offers a generous free tier for static sites and small web services. For actual backend services, you’re looking at similar pricing to their droplets.
- Render/Railway: Both have very generous free tiers for small projects, then scale based on usage (CPU, RAM, bandwidth). Railway, in particular, is beloved for its instant deployments and developer-friendly experience, often giving a good chunk of free credits.
Pros: Super easy, minimal server knowledge required, good for prototypes and small production apps.
Cons: Less control over the underlying server, costs can add up for larger projects.
2. A Manager to handle everything that happens in your server and you just chill!
This is my personal sweet spot for balancing control and ease-of-use. You get a Virtual Private Server (VPS) – basically, a slice of a powerful server – and then install a “management panel” on top.
Example Setup: Hetzner (or DigitalOcean/Vultr) + Coolify (or Cloudron) + (Appwrite or Supabase)
How it works:
- Get a VPS: Providers like Hetzner Cloud are incredibly cost-effective, especially in Europe. DigitalOcean, Vultr, and Linode are also fantastic choices. For a basic Appwrite/Supabase instance, aim for at least 2 CPU cores and 4GB RAM to avoid performance bottlenecks.
- Install a Panel:
- Coolify: This is where the magic happens! Coolify is an open-source, self-hostable platform that’s like a mini-Netlify/Vercel for your own server. You install it on your VPS, and then use its slick web UI to deploy Appwrite, Supabase components, or pretty much any Dockerized app. The best part? The self-hosted version of Coolify is completely free with no feature limitations. They also offer a paid cloud version if you don’t want to manage Coolify itself.
- Cloudron: Another excellent open-source, self-hostable panel. Cloudron takes a more “app store” approach, making it super easy to install a wide range of apps (including Appwrite) with a few clicks. Its free plan allows up to two applications, which is perfect for a single Appwrite or Supabase setup. If you need more apps or premium features (like built-in email server or advanced support), they have paid plans starting around €15 / month.
Pricing Snippet (for a capable VPS to host your panel & backend):
- Hetzner Cloud: Starting around €6.30 – €7.55 / month for a 2-4 vCPU, 8GB RAM machine. Seriously good value.
- DigitalOcean: A 2 vCPU, 4GB RAM Droplet would be around $24 / month.
- Hostinger: Their KVM 2 plan (2 vCPU, 8GB RAM) can be had for ~$6.99 / month with a long-term commitment. Monthly prices are higher.
Pros: Great balance of control and ease-of-use, very cost-effective, good for managing multiple self-hosted apps.
Cons: Still requires some initial server setup (installing Docker, then the panel), you’re responsible for core OS updates.
3. You want to build the house from the ground up and you surely WANT to do everything!
This is for the purists, the ones who want absolute, unadulterated control. If you’re comfortable with the command line and Docker, this method gives you the most flexibility.
How it works:
- Get a Raw VPS: Any provider (DigitalOcean, AWS EC2, Vultr, Linode, Hetzner) will do.
- SSH In: Log into your server.
- Install Docker & Docker Compose: Follow the official guides.
- Deploy: Both Appwrite and Supabase provide
docker-compose.ymlfiles. You basically download these, configure your environment variables (secrets are key here!), and rundocker compose up -d.
Pros: Maximum control, deepest understanding of your setup, potentially lowest cost if you’re hyper-efficient.
Cons: Highest learning curve, you’re 100% responsible for everything – security, updates, backups, scaling, debugging. Not for the faint of heart!
Comparing the Tools & Their Deployments
Let’s put it all together in a handy table to compare Appwrite and Supabase across different deployment scenarios:
| Feature/Deployment Type | Appwrite | Supabase |
| Core Database | NoSQL-like API (built on MariaDB) | PostgreSQL (full relational DB) |
| Serverless Functions | Cloud Functions (multi-language support) | Edge Functions (Deno/TypeScript/JS, low latency) |
| Real-time | Events across all services | Database changes, Broadcast, Presence |
| Managed Cloud (Official) | Yes (Appwrite Cloud) | Yes (Supabase Cloud) |
| Complexity: Managed App Host (e.g., Render, Railway, DO App Platform) | Easy: Often one-click deploy or straightforward Docker container setup. Minimal config. | Medium: Requires deploying multiple Docker containers (PostgreSQL, GoTrue, Storage, etc.) and linking them, more config. |
| Complexity: VPS + Coolify/Cloudron | Very Easy: Coolify has direct integration for Appwrite. Cloudron also supports it via its app store. | Medium: Requires setting up a PostgreSQL instance, then deploying other Supabase services as custom Docker containers within the panel. More manual linking. |
| Complexity: Raw VPS + Docker Compose | Easy: Single docker-compose.yml provided, straightforward setup. | Medium: Official docker-compose.yml with multiple services, requires careful .env setup and understanding of inter-service communication. |
| Self-Hosting Focus | Very strong, core to their philosophy. | Strong, but their managed cloud is also a major offering. |
| Ideal For | Rapid development, cross-platform apps (especially Flutter), comprehensive opinionated backend, full control. | SQL-first apps, complex data relationships, developers familiar with PostgreSQL, real-time data needs. |
Wrapping It Up
Choosing between Appwrite and Supabase, and then deciding on your self-hosting strategy, boils down to your comfort level, project needs, and budget.
If you’re just starting out and want to dip your toes into self-hosting, a VPS with a management panel like Coolify offers an incredible blend of control and ease, all while keeping costs low. Or, if you prefer the “hands-off” approach, the managed application hosts are a great way to go.
Ultimately, both Appwrite and Supabase are fantastic open-source projects that empower developers. Whichever path you choose, you’re taking a significant step towards owning your backend and building truly independent applications.


Leave a Reply